Login
When you open up NodeSpell editor for the first time, you are greeted with the login page.
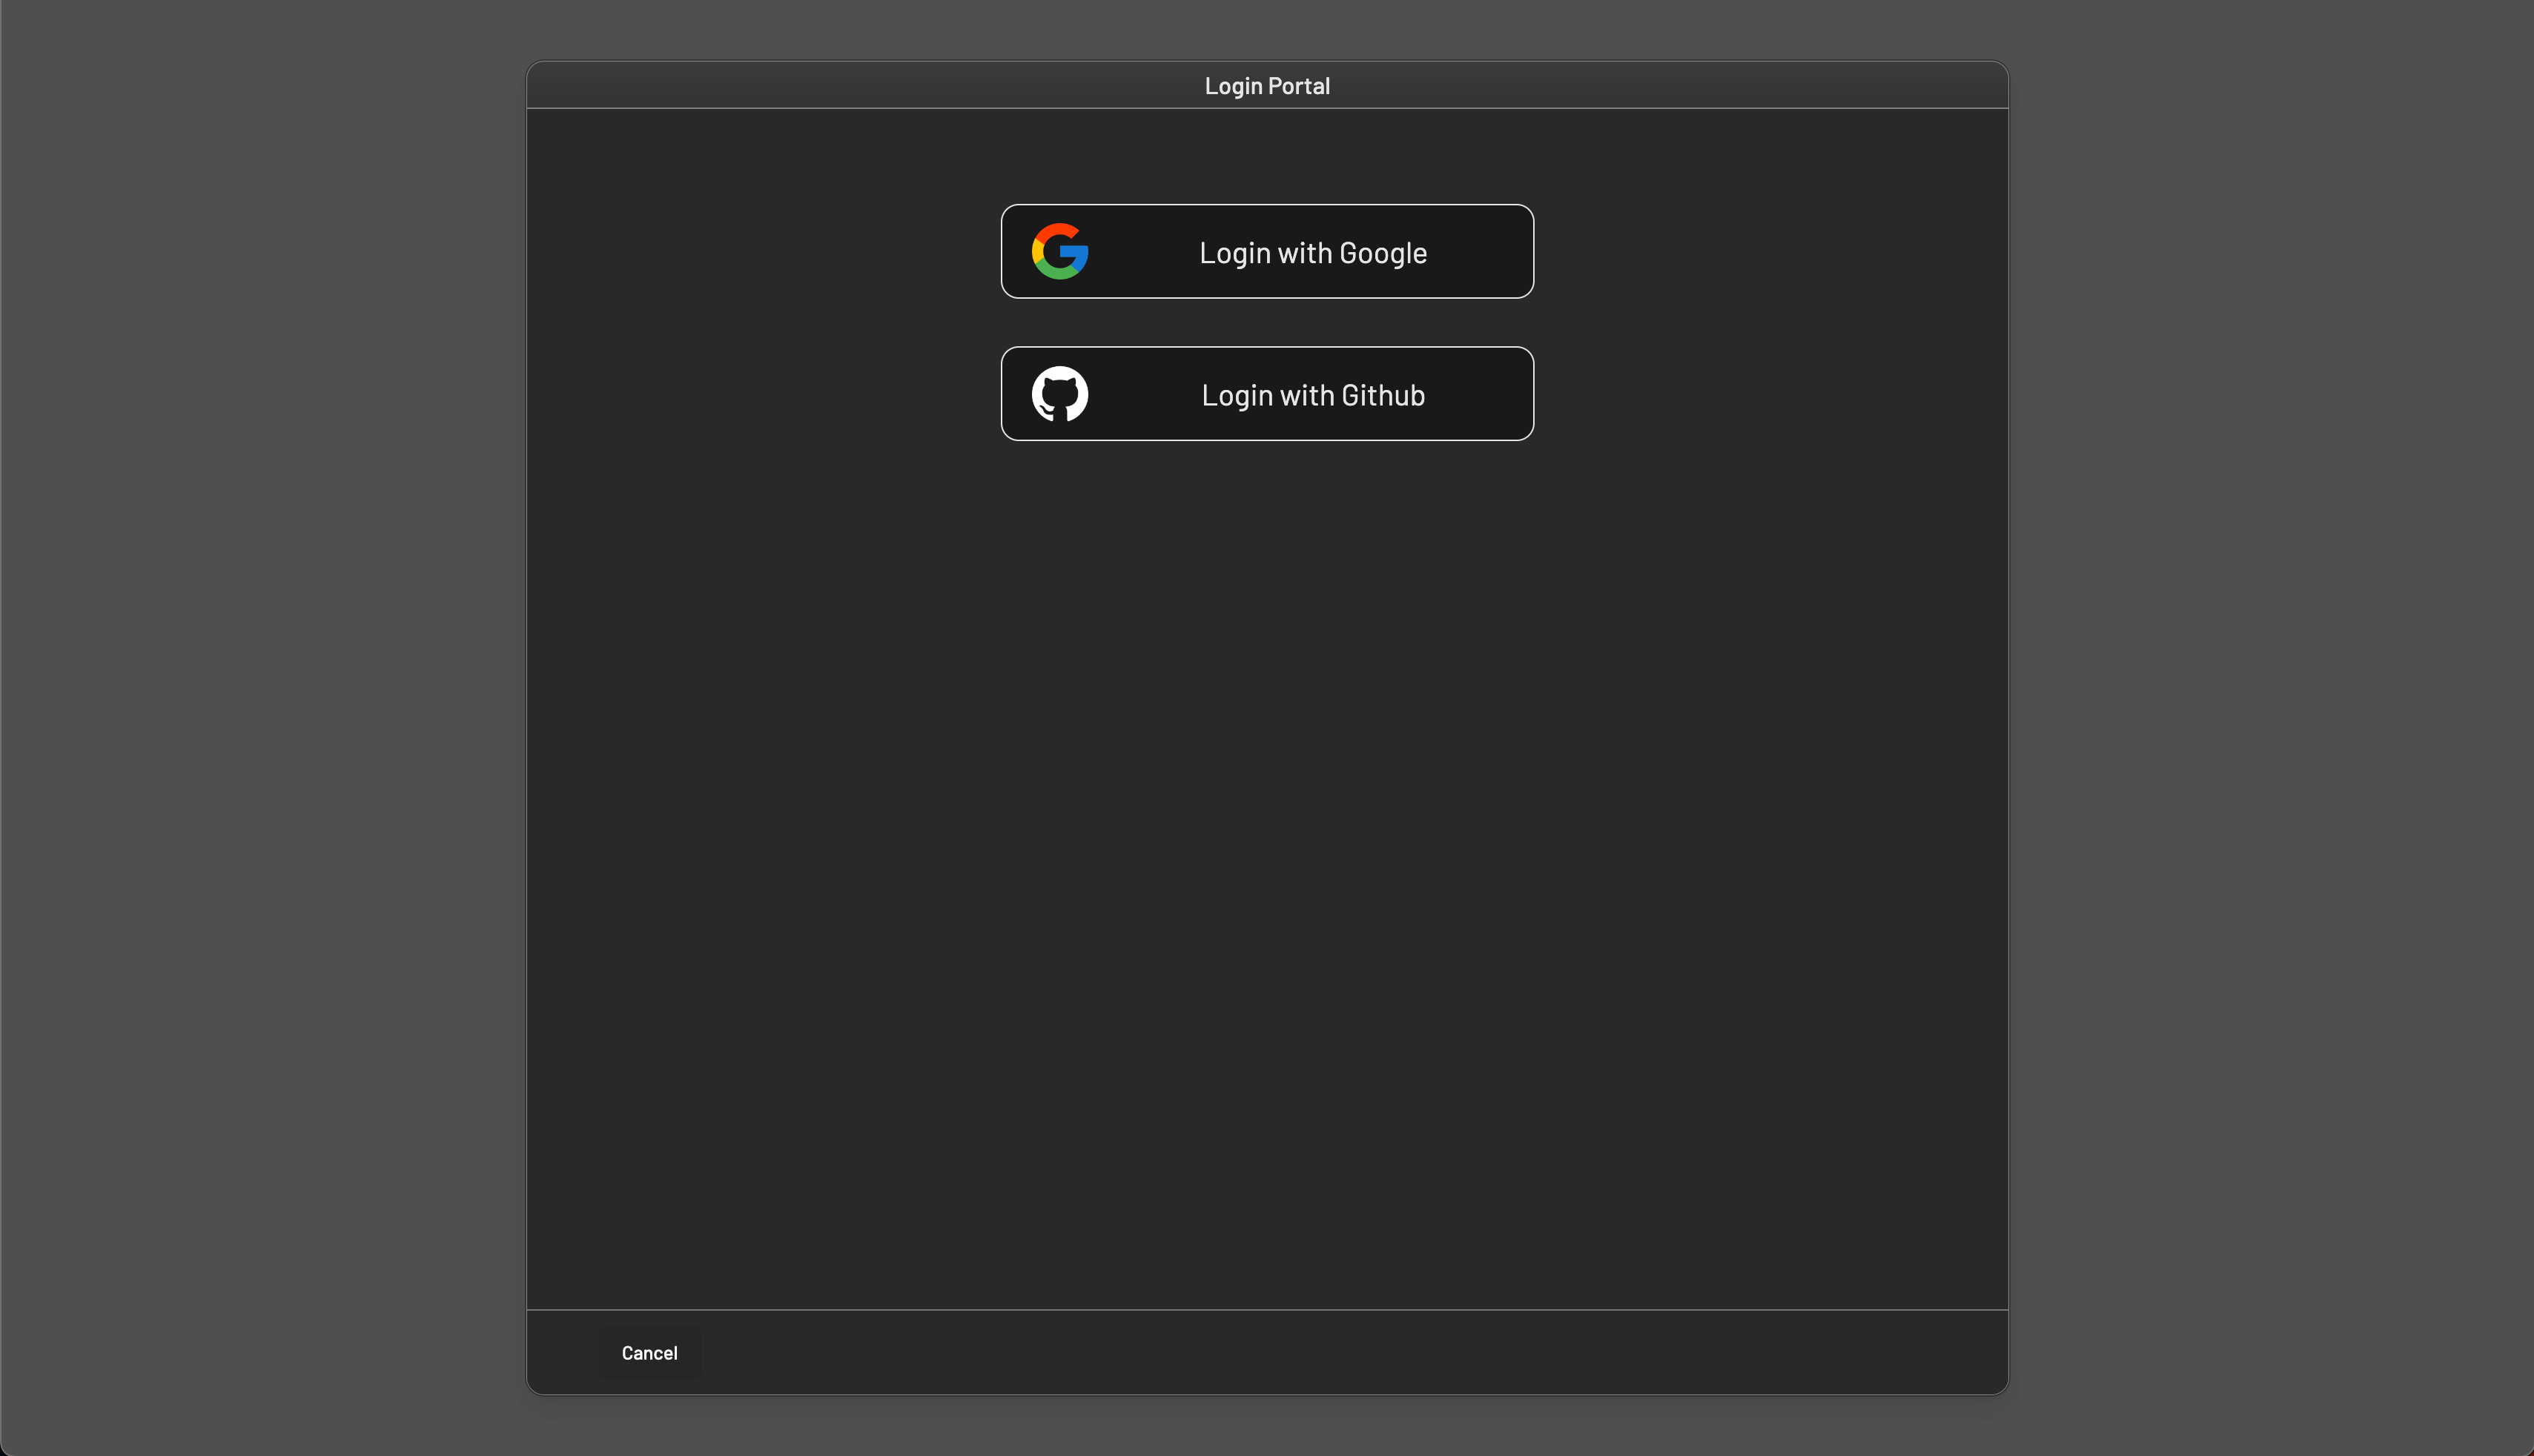
You can login using your Google or GitHub account, if you don't have an account, signing in will automatically create an account for you.
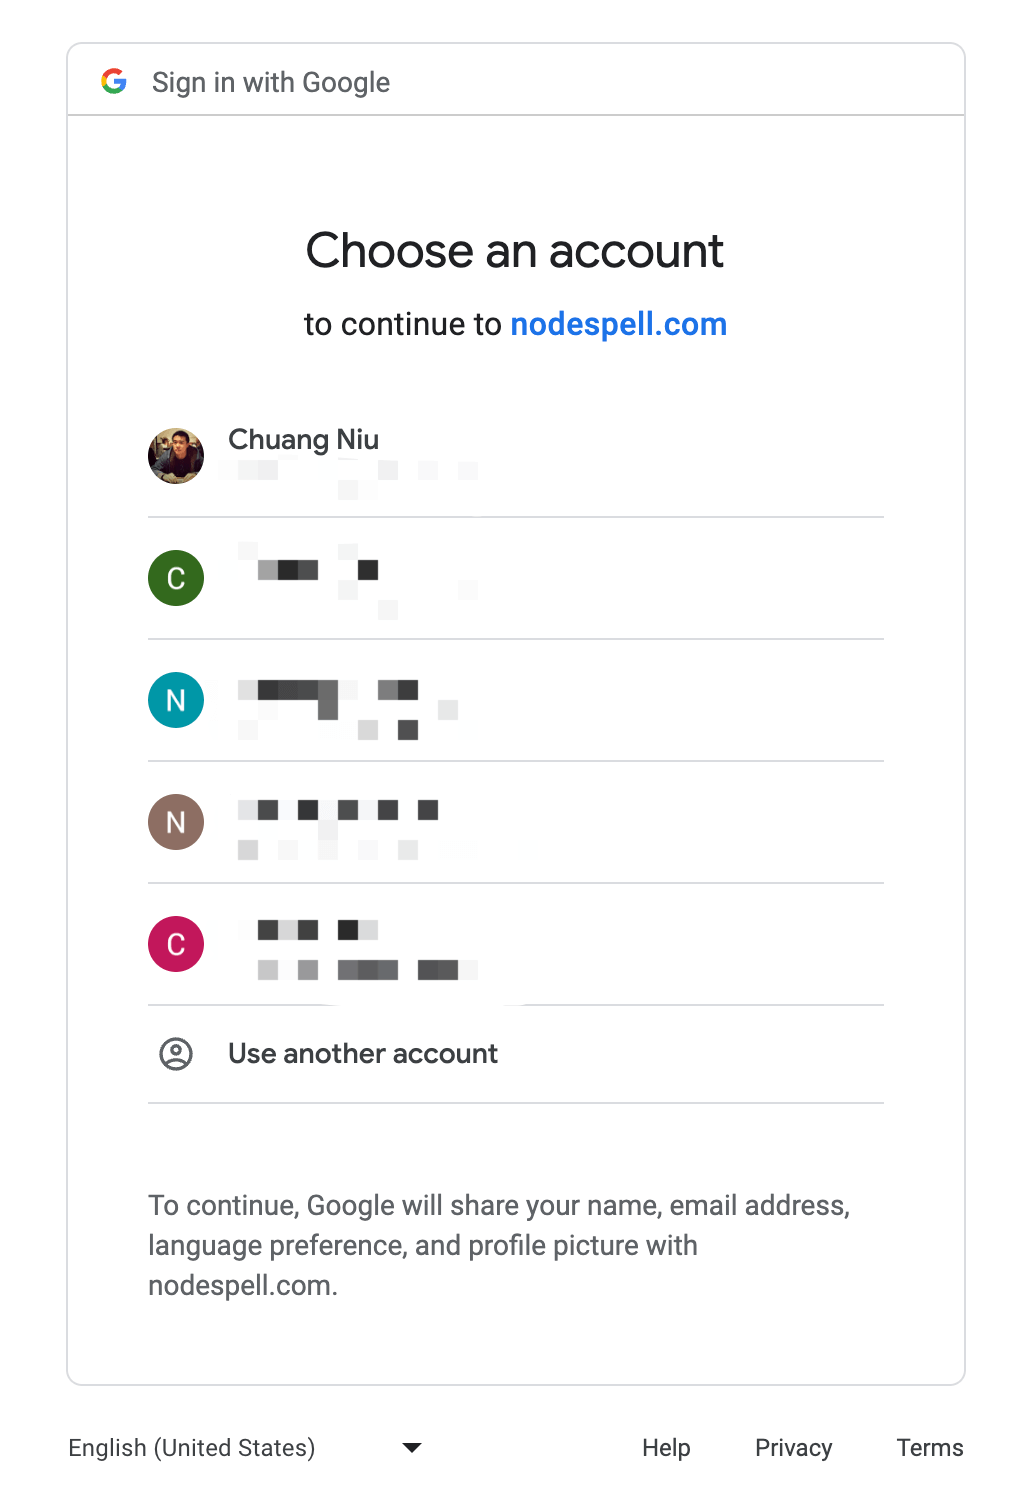 For example, if you choose to login with Google, you'll be prompted to select an account to login with. Choose the account you want to use for NodeSpell, please note that the email address associated with the account will be used as your NodeSpell id, and multiple accounts with the same email address will be merged into one account.
Open a Project
Here you can see a list of demo projects we have created for you to learn NodeSpell. If you have already created some projects, you can see them here too.
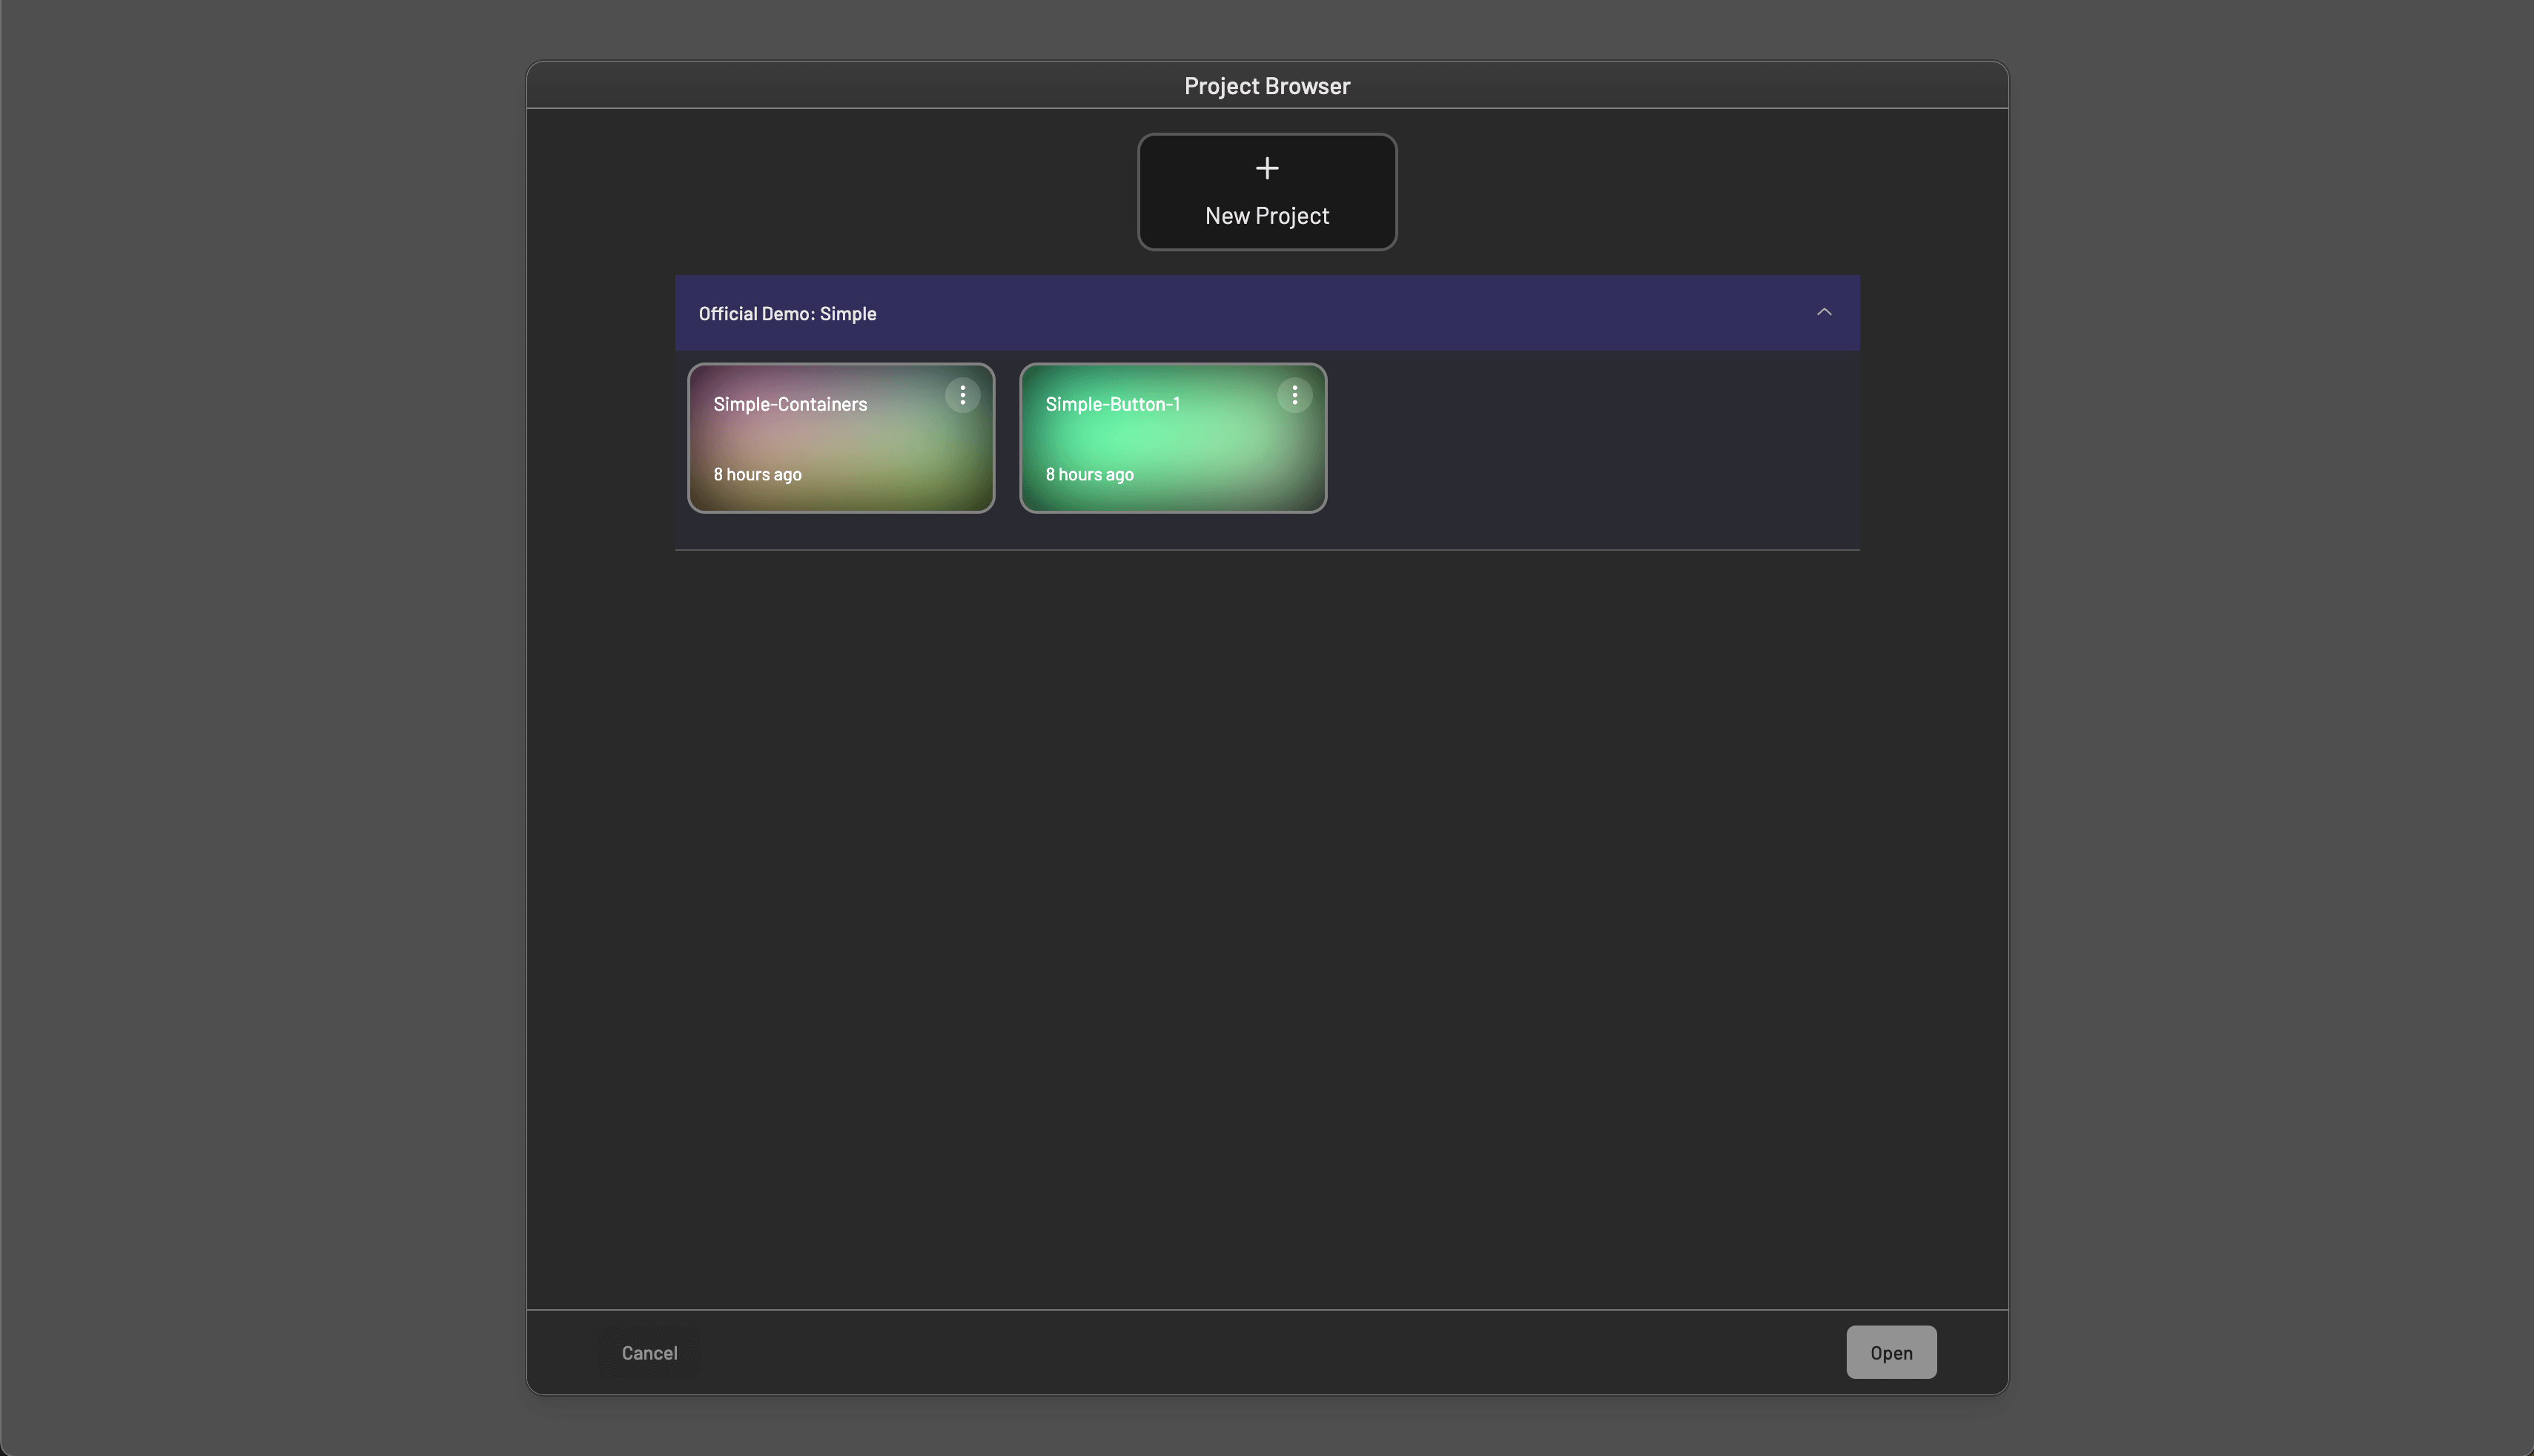
You can open up a project by double clicking on the project card, or click on the Open button on the bottom right corner of the window.
The Main UI
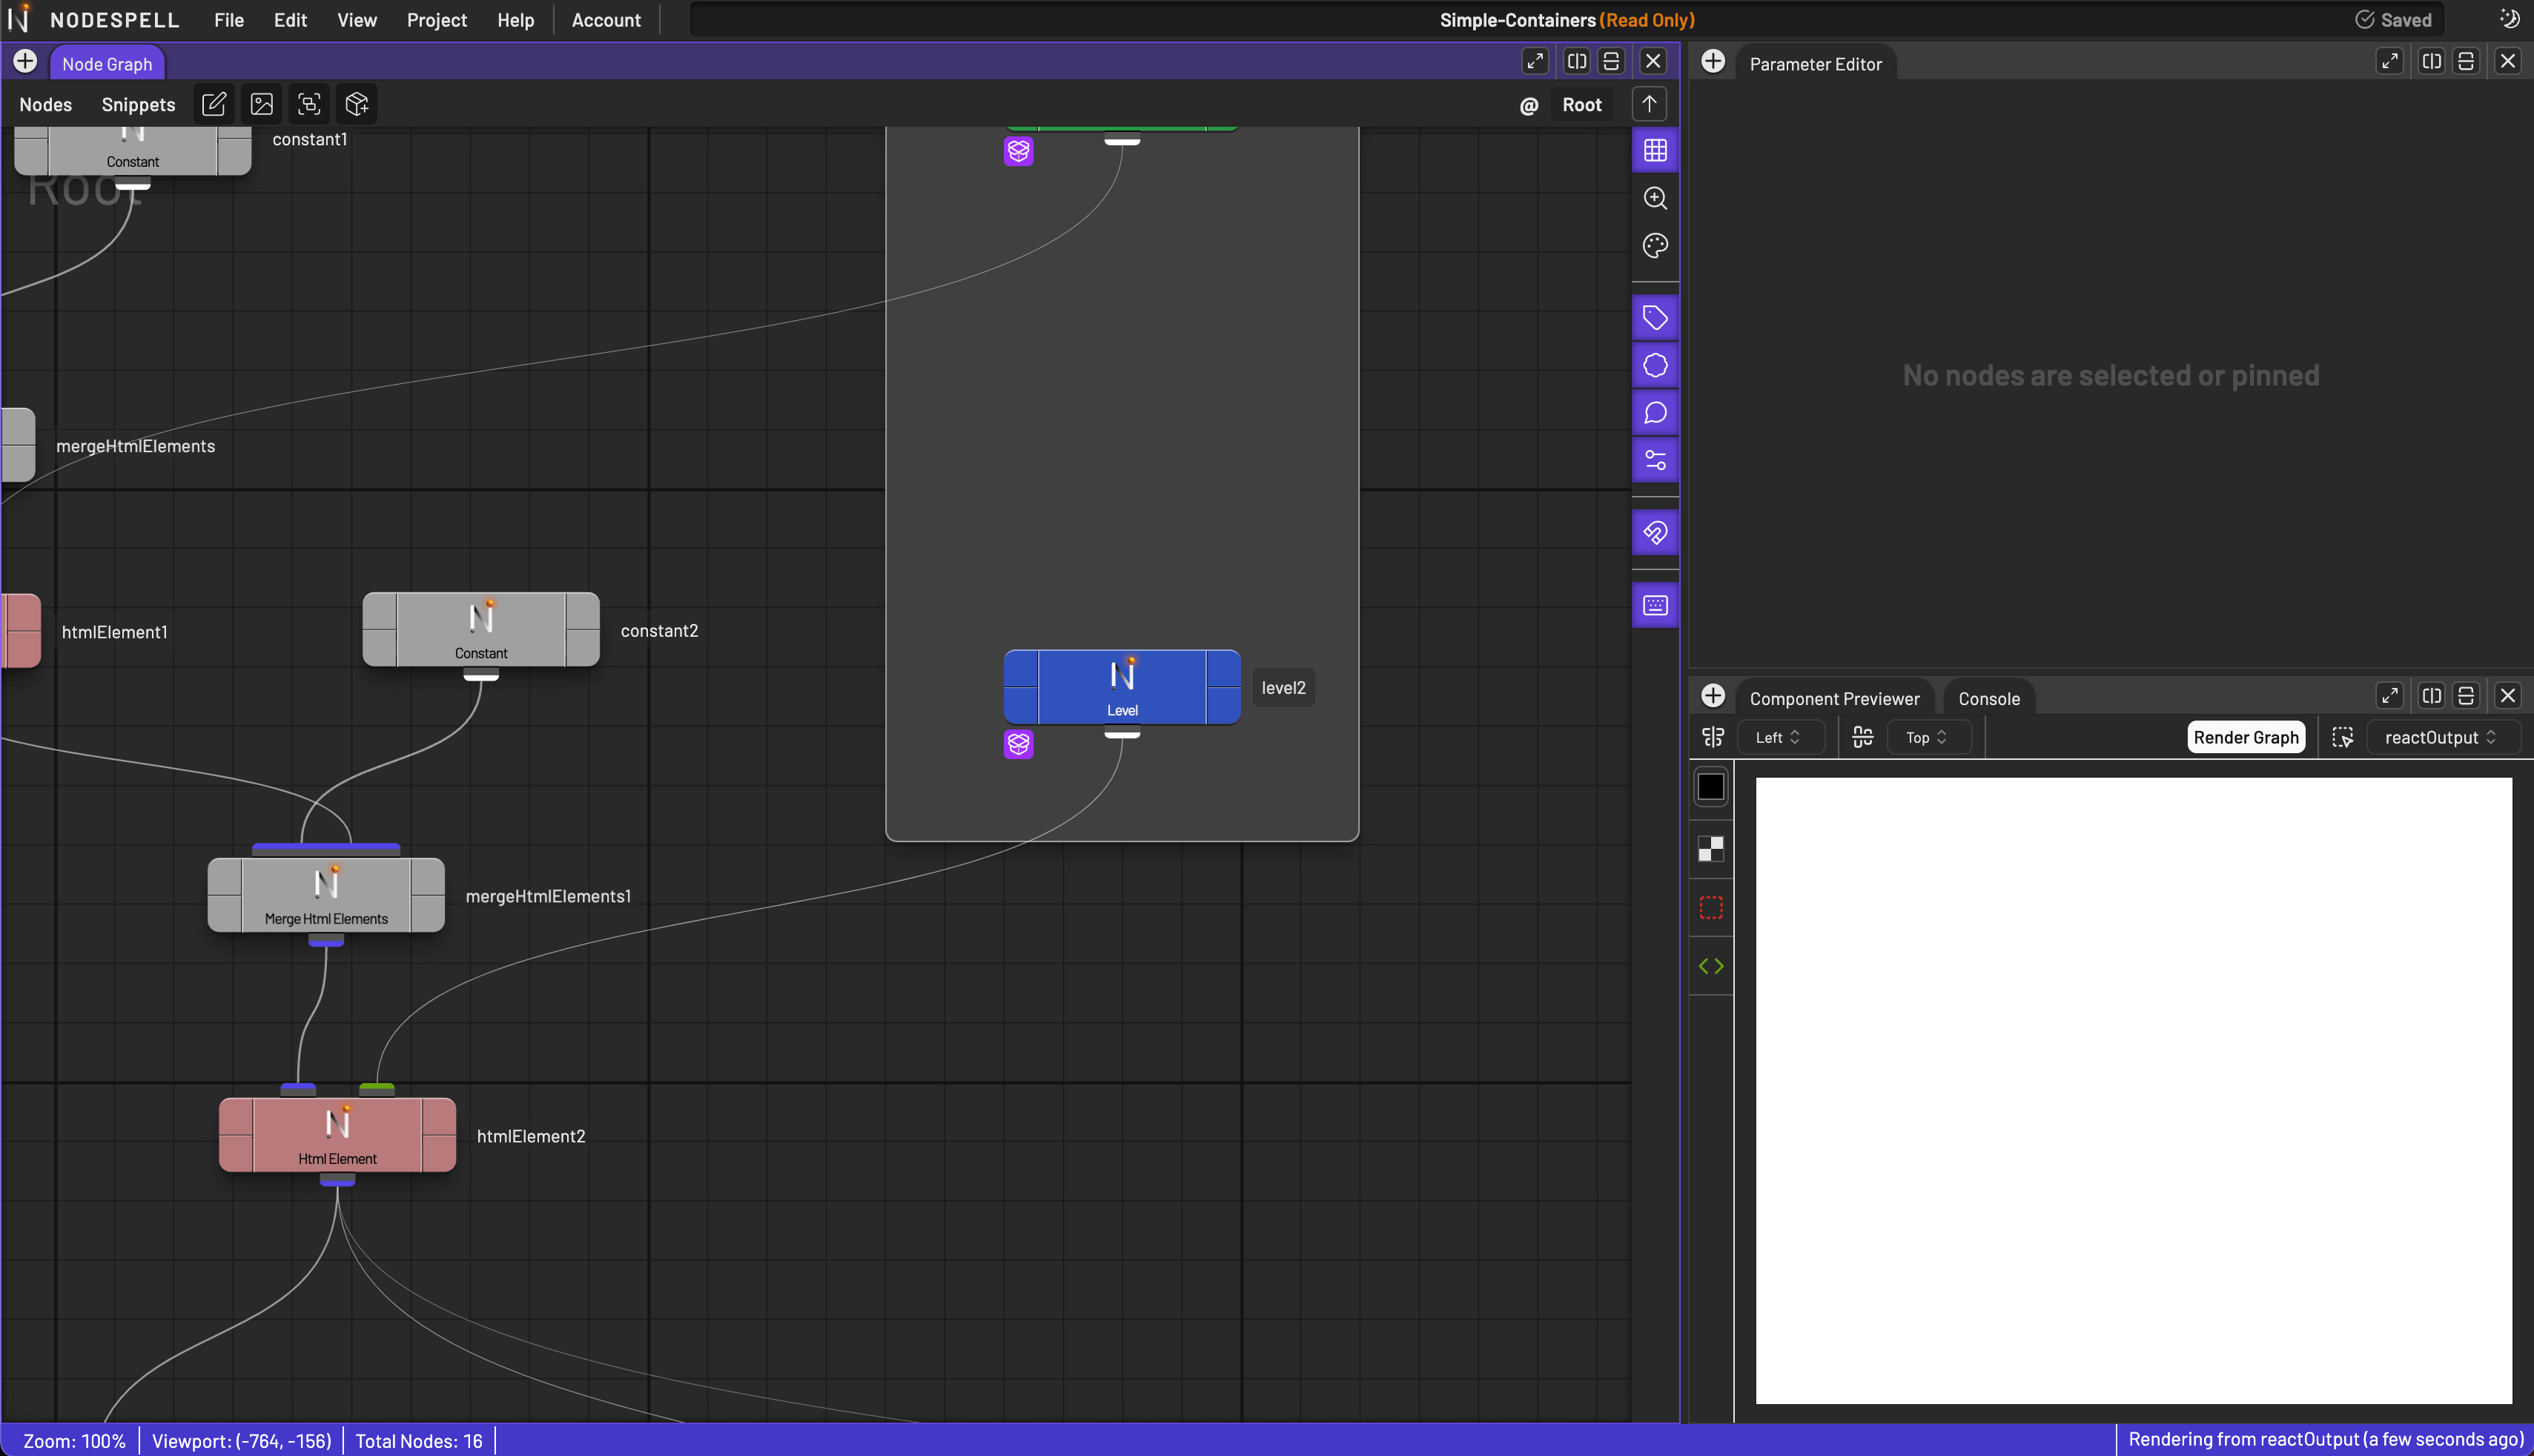
Once the project is open, the layout associated with the project will be loaded, and you'll see the main UI of NodeSpell. For instance, this is the sample project Simple-Containers under Simple category.
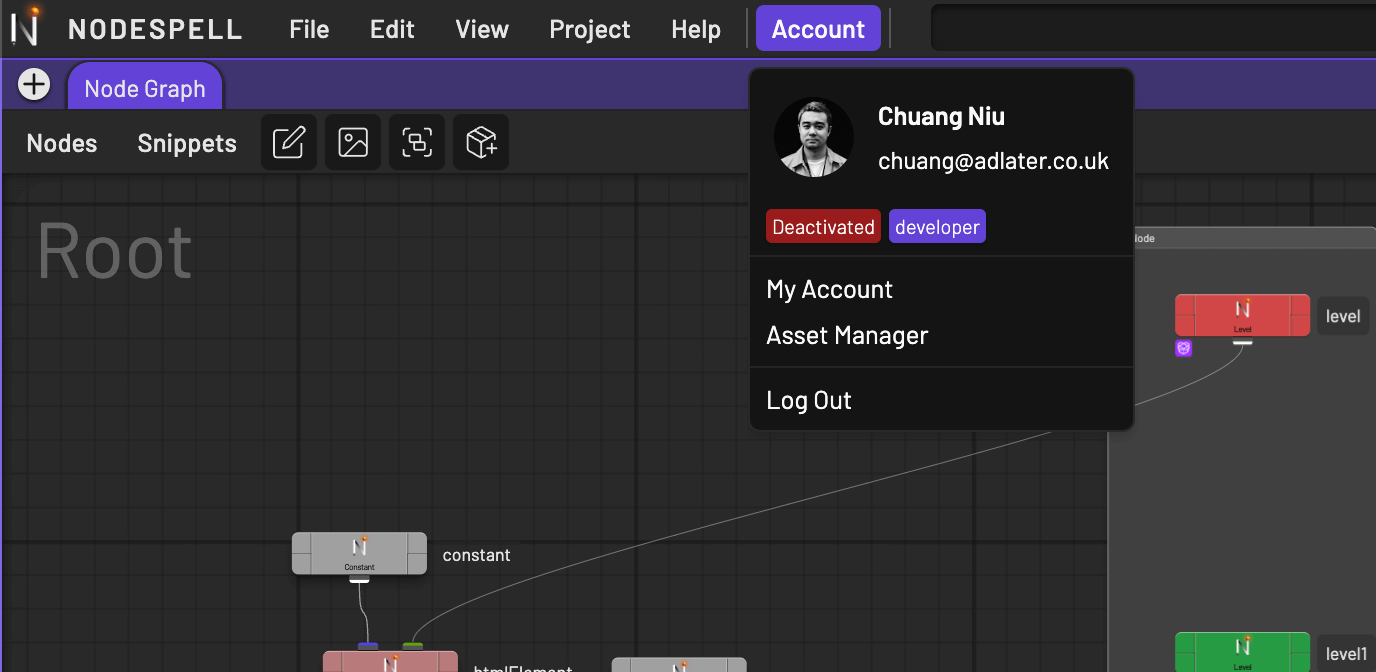
Activate Your Account
NodeSpell is still in Alpha testing, so we need to activate your account manually before you can use it. Please contact us at admin@nodespell.com to activate your account.
You can check the account status here: Main Menu > Account:
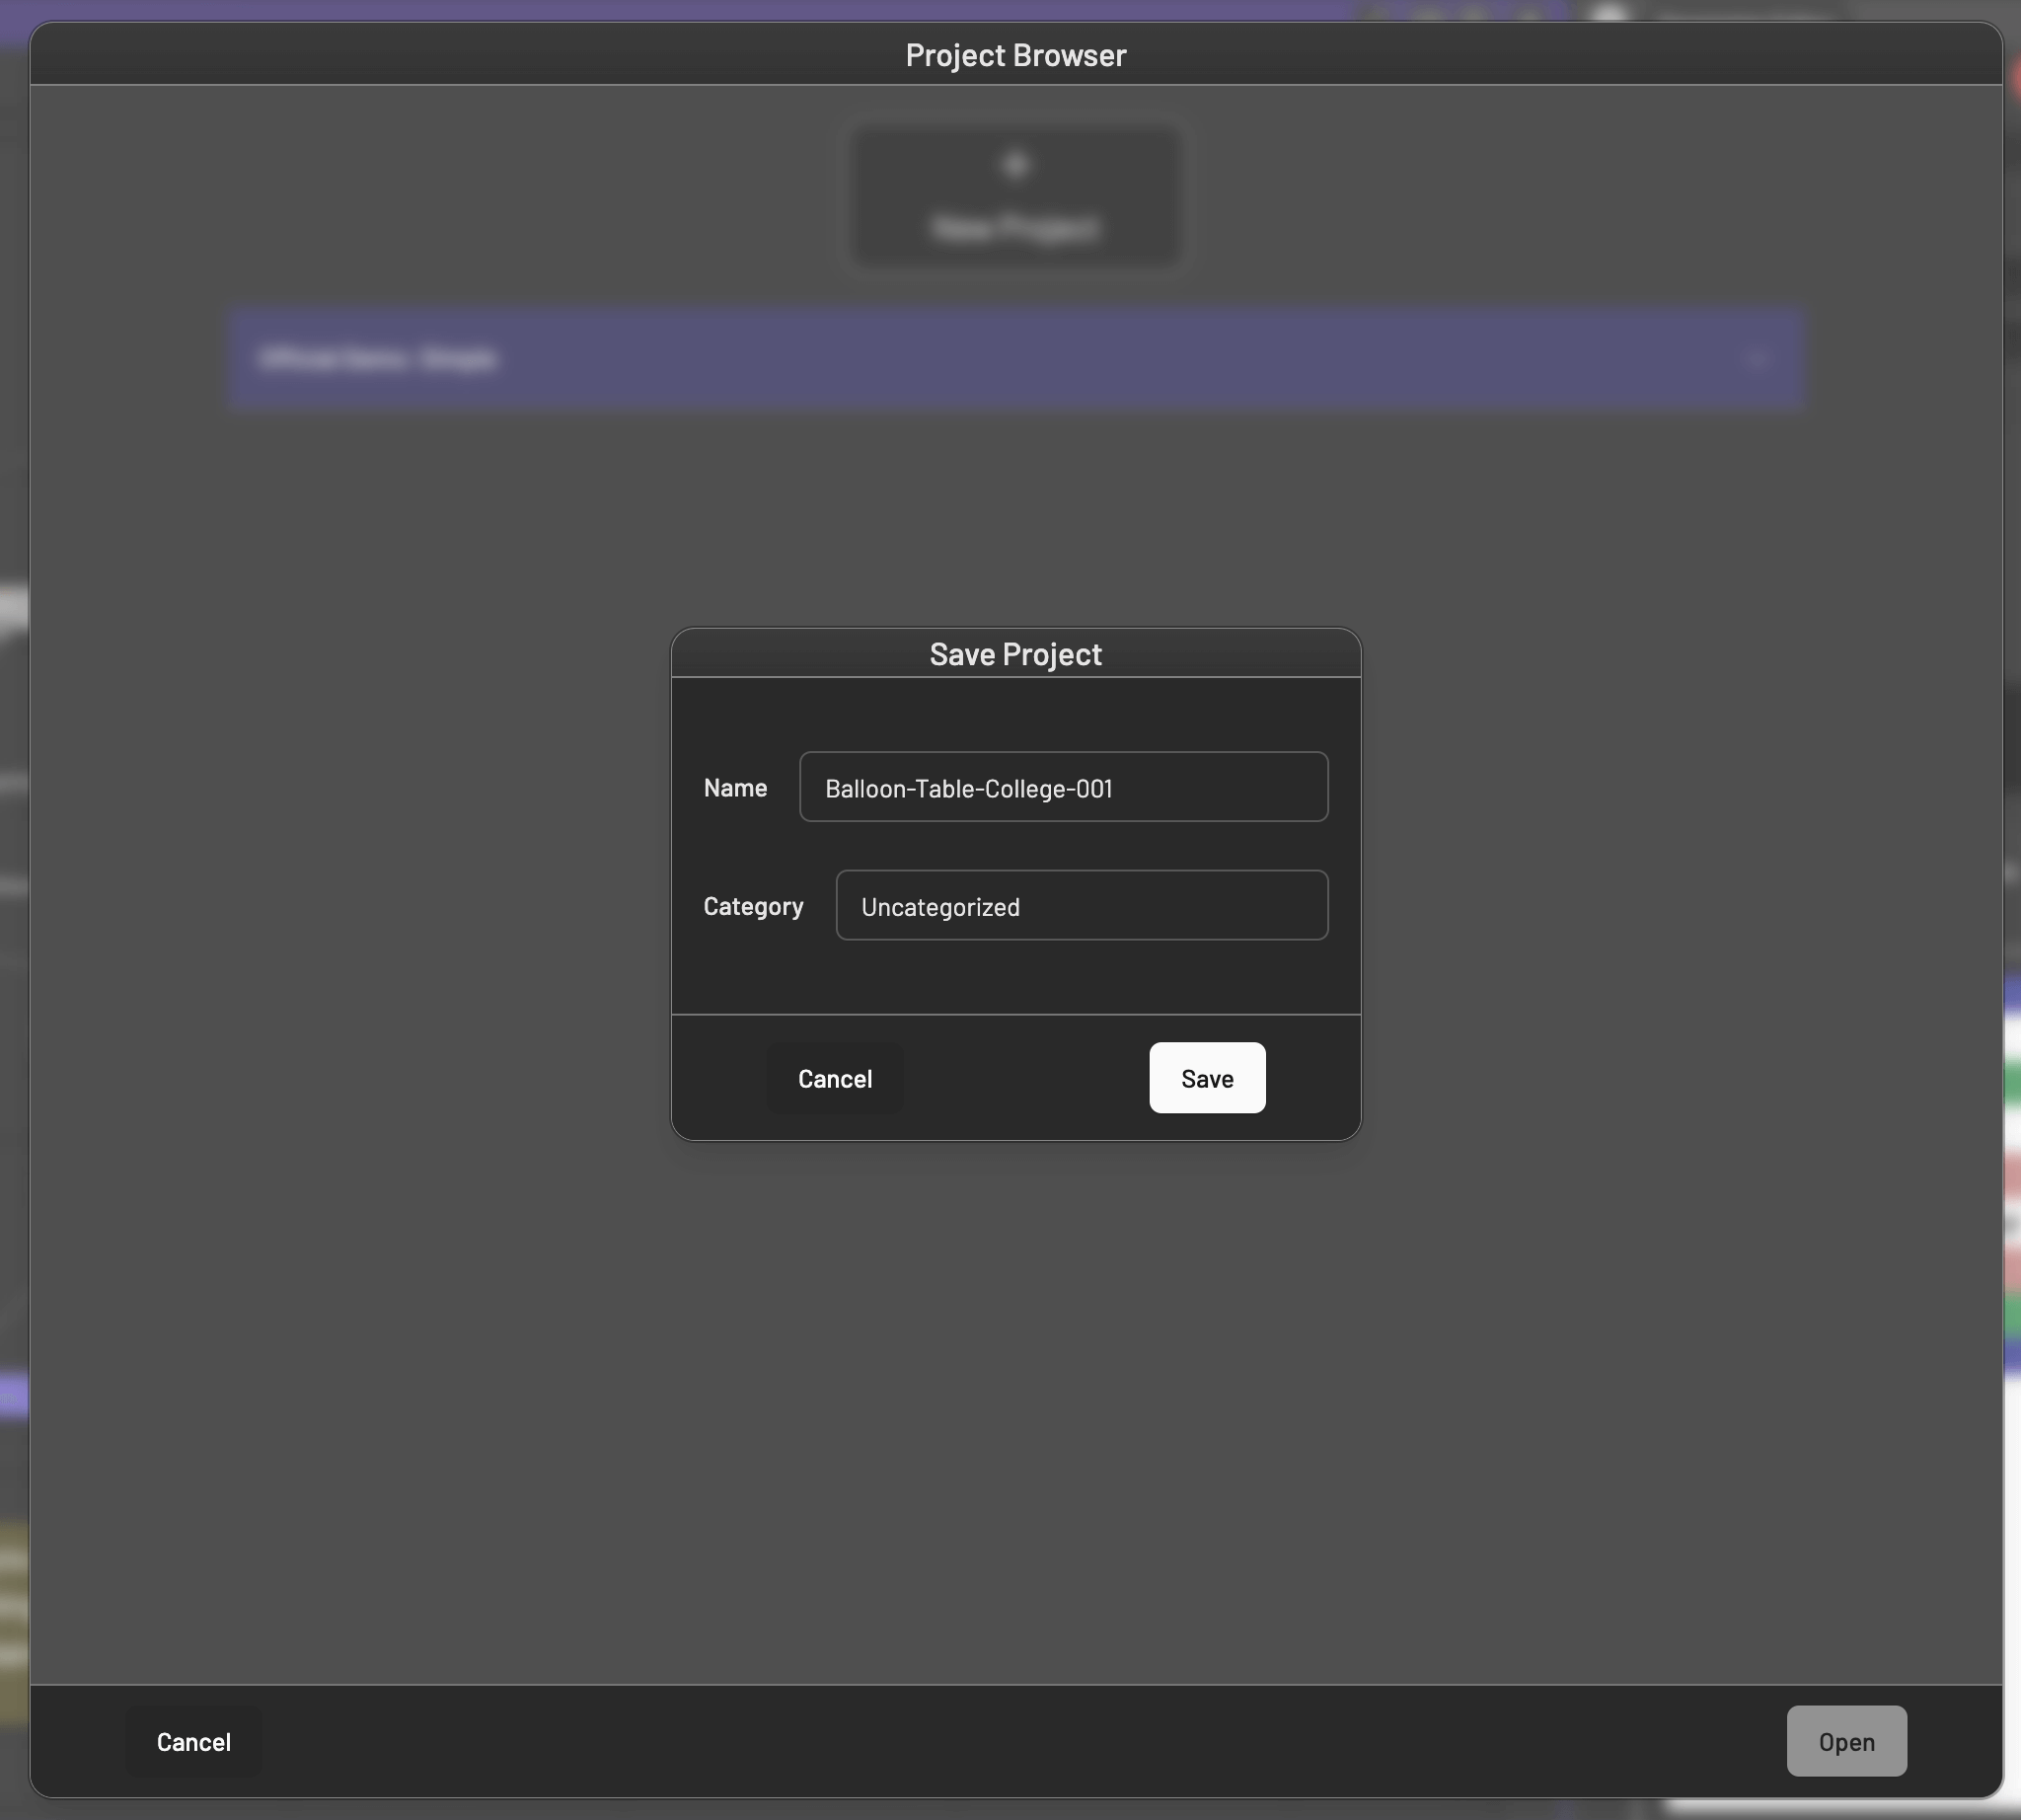
Create a Project
Once your account is activated, you can create a project from Main Menu > Project > New Project:
 Which will bring up the new project dialog, a randomly generated project name will be filled out for you, you can change it to whatever you want, and choose a category for the project.
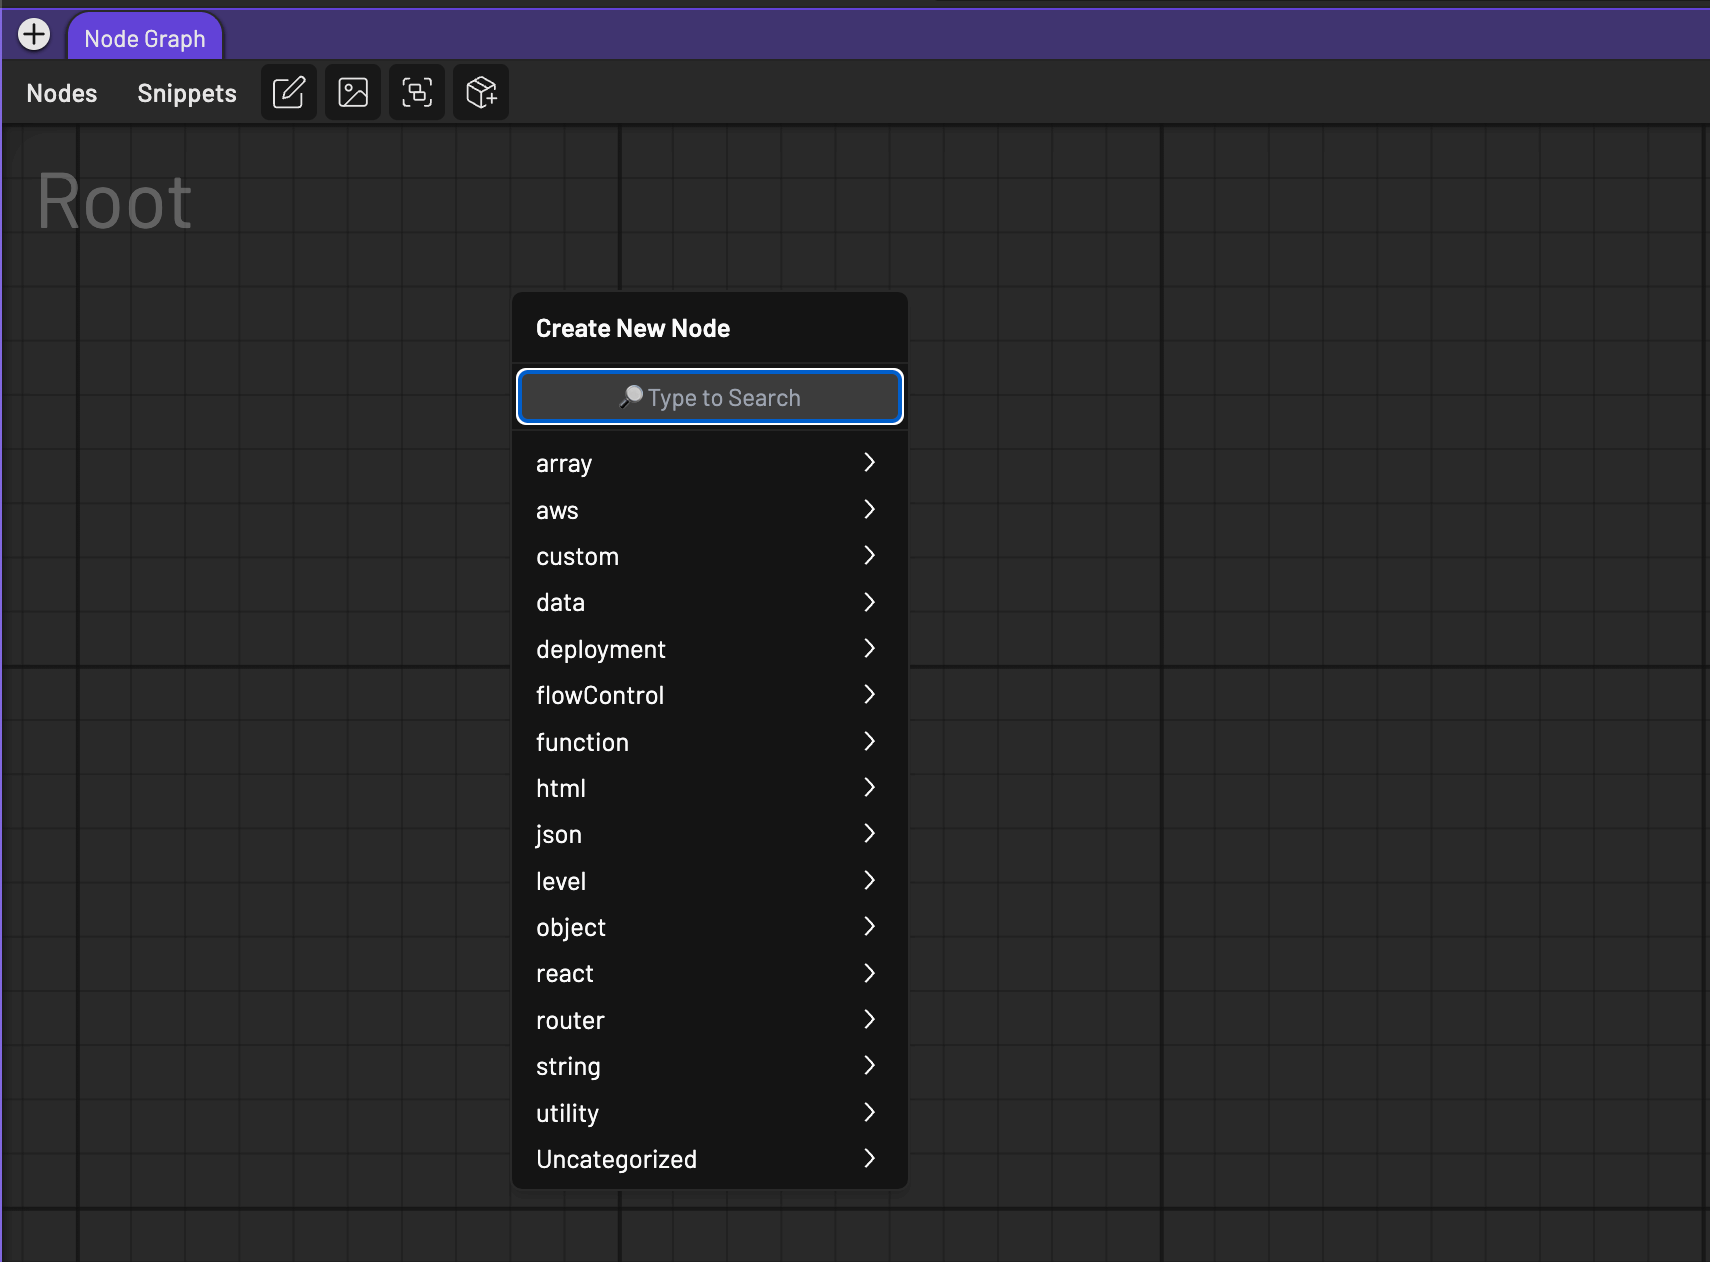
Create a Node
There is no node in the node graph inside a new project, you can create a node by clicking on the node menu on the top left corner of the node graph, which will bring up the node menu, you can choose a node type from the list.
A faster way to create a node, also my favourite, is to use the Tab Menu, with your mouse cursor on the node graph, press the Tab key on your keyboard, which will bring up the tab menu, you can type in the name of the node you want to create, and press Enter to create it.
Or you can browse the list of nodes by using the arrow keys or mouse, and press Enter or left mouse click to create the selected node.
Start Exploring
There you have it, you have successfully logged in, opened a project, created a project, and created a node. Now you can start exploring NodeSpell and create your own projects.
If you want to find out more about a node, you can right click on it and choose Help, which will bring up the documentation of the node. Or for a more detailed documentation, you can visit our documentation website.
We can't wait to see what you create with NodeSpell!